

Translating and reversing the image. By doing this I move the image around the screen and can position it on the side I would want it to be

Frame by frame change in opacity to create smooth transition. I did this by cutting the clip up into smaller segments and adjusting the opacity so that it gradually reduced each frame as can be seen in the image above.
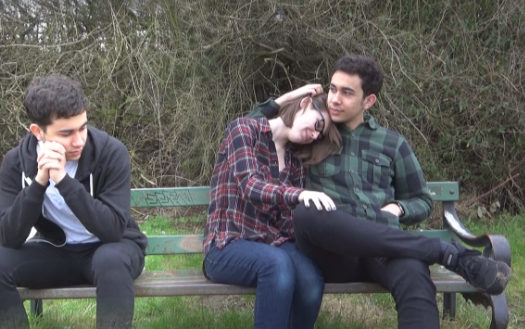
To clone myself into the same image I used the Event Pan/Crop feature, where i then edited the mask of the image using the anchor tool as seen below.

This cuts out everything that is not anchored onto the image, allowing the clip underneath to play over. However, at first when I did this a clear line/divide could be seen between the two images. To fix this I used the feather variable, as seen above, to blend the line dividing the two images. The higher percentage that the Feather variable is on the more the two videos/images will blend into each other.
However only having one static line which divides the two is problematic due to the fact that ,no matter what, one of the sides will go over the line an break the illusion.
To overcome this I used keyframes to adapt the 'masking line' frame by frame so that neither pictures would would go over the line and inturn appear to dissapear
I then had to colour correct one of the videos as the lighting was somewhat darker than the overlaying video.
For slowmotion, it was really straightforward. To slowmo my clip all I had to do was hold the CTRL key and drag the video clip back to a shorter length. However issues with this came in the form of laggy frame rate. Due to my camera not recoding and a high enough FPS slowing down the clip too much resulted in a drastic reduction in video quality.
Inversely I also dragged out clips to a longer length uthing the same method, this resulted in the video becoming fast motion, fast motion yielded a better look/quality than slowmotion
No comments:
Post a Comment